
Boob Light Removal Tutorial
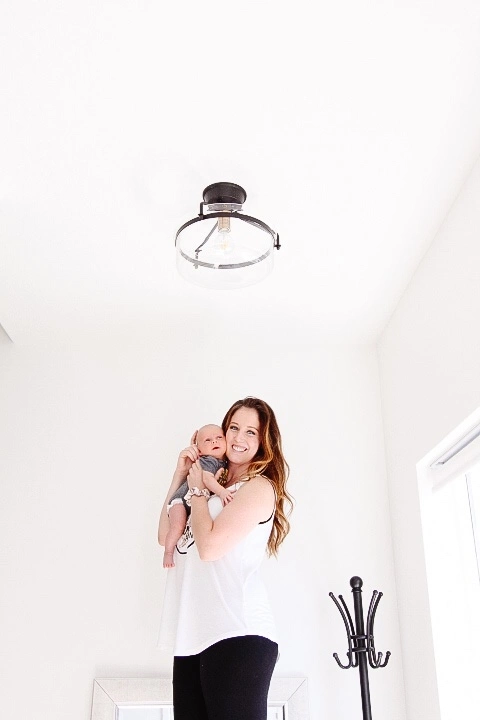
This Boob Light Removal Tutorial will literally shock you into how easy this is. I cannot stop speaking about the easy process it is to upgrade your home’s ugly boob lights. This should be your #1 way to upgrade your home easily. Lighting can add so much value to your home. If you haven’t upgraded yours yet, now is your time! No joke, I switched out a boob light while baby carrying my colicky son. That’s how easy it is.
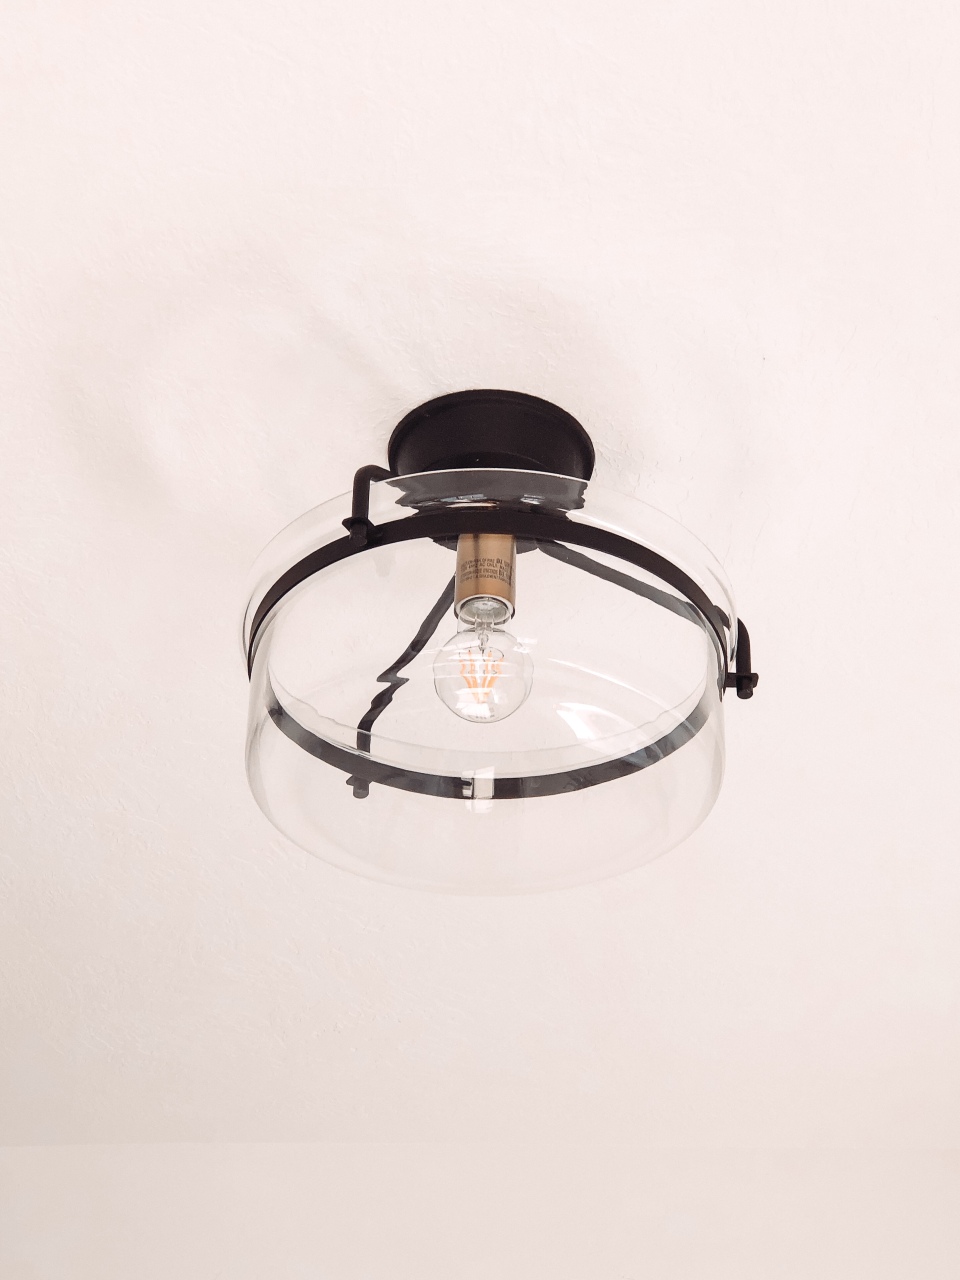
I bought these beautiful modern flush mounts from Wayfair. They seriously are SO much better to look at and are simple, yet elegant! My favorite was the light from my husband’s man cave. This will easily change the feel of your home.
YouTube Video Walkthrough:
[If you’d prefer to watch my 10 min walk Boob Light Removal Tutorial video, you can do so by clicking here.]
Steps to Remove your Boob Light:
Step 1 –
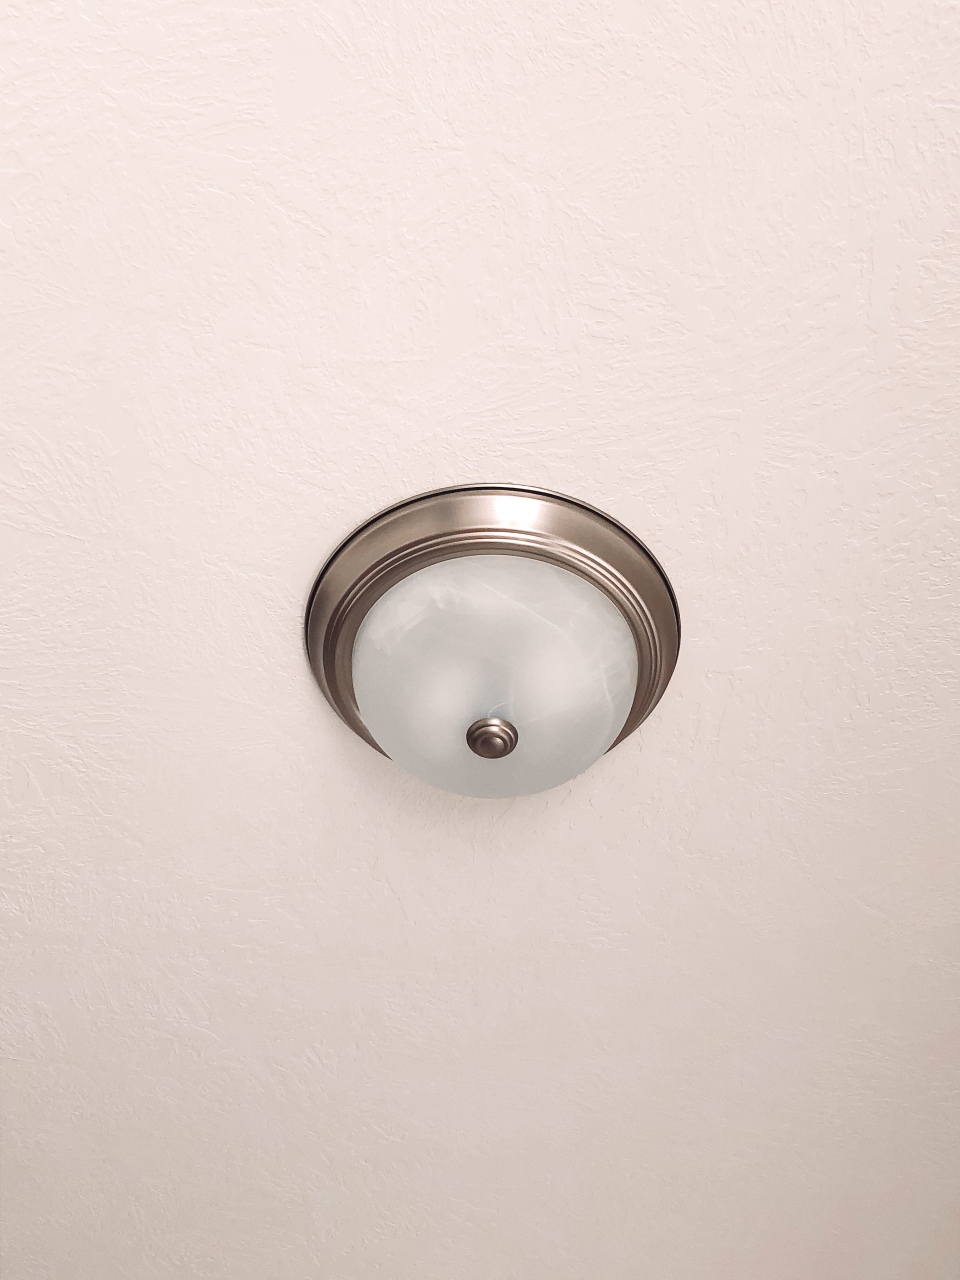
Unscrew your boob light and remove light bulbs and plate. (The ‘nipple’ part of the boob light just screws on and off and then you’ll need to unscrew the mounting plate from the ceiling.)
Step 2 –
After removing the mounting plate you’ll need to disconnect the wires from each other. The wires should be held together with caps that screw on and off, just unscrew them to the left. (Right is tight, left is loose). Once you’ve completed disconnecting the wires, the boob light should be completely removed at this point.
Step 3 –
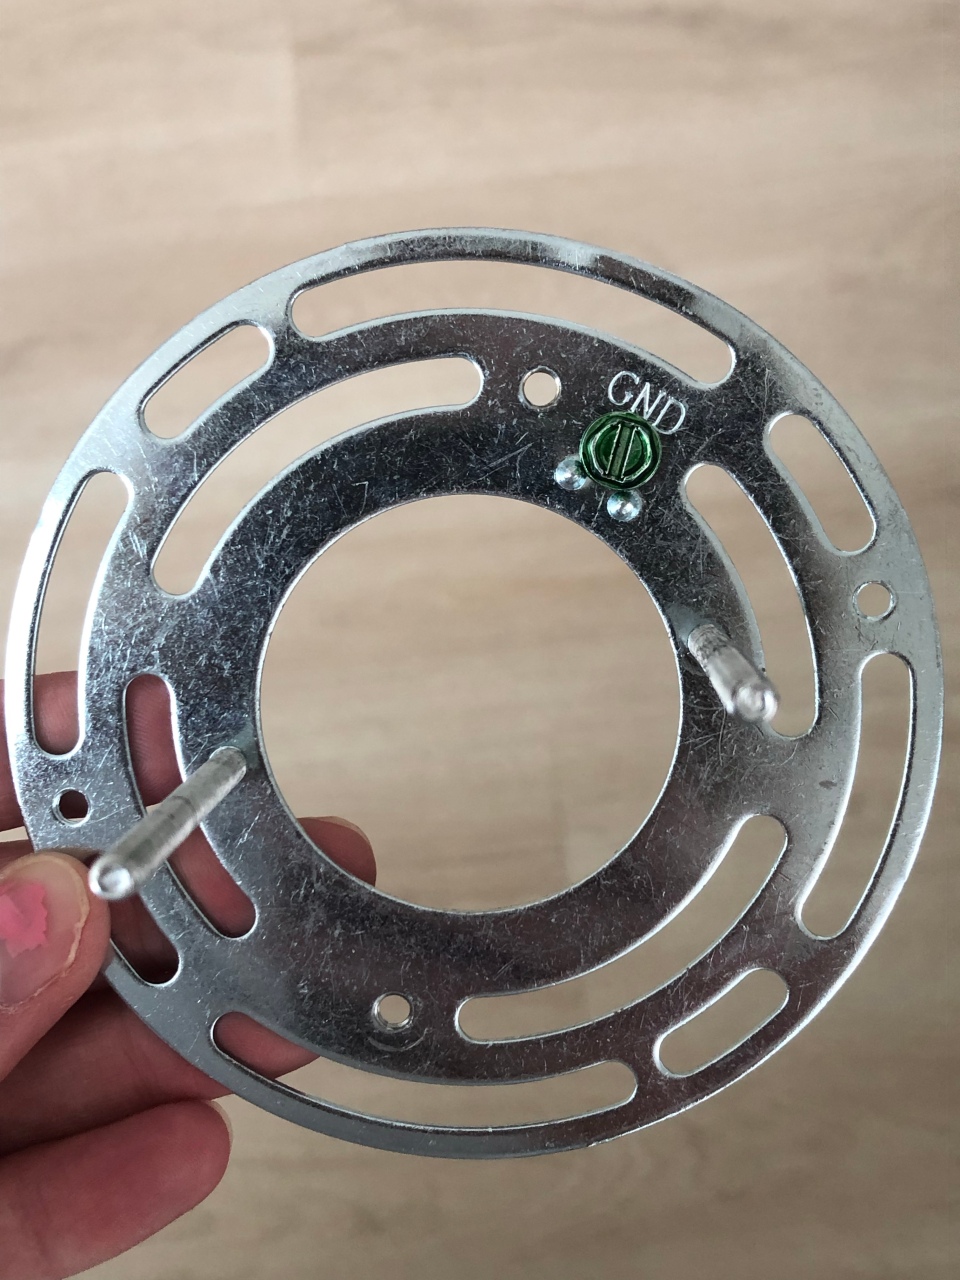
Most newer semi-flush mounts come with a mounting plate. You will need to screw this mounting plate onto your ceiling light box.
Step 4 –
With the mounting plate tightly secured to your ceiling, it’s time to attach the wires from your home to the wires in your new semi-flush mount. This is where your skills learned from Kindergarten come in handy. It’s time to play ‘Find that Match’! You’ll want to connect the black wire to black, white wire to the white and if your new light comes with a copper or green wire, you’ll connect it to the copper wire in your home (otherwise known as the grounding wire). Make sure you wrap the wires nicely around each other, especially at the tips.
On my mounting plate above you can see a green screw that is labeled GND. This indicates ‘ground’. So if your lighting fixture does NOT have a copper or green wire (aka grounding wire) then you’ll need to wrap your home’s copper wire around the green screw as to ensure that your copper wire is secured to something.
Step 5 –
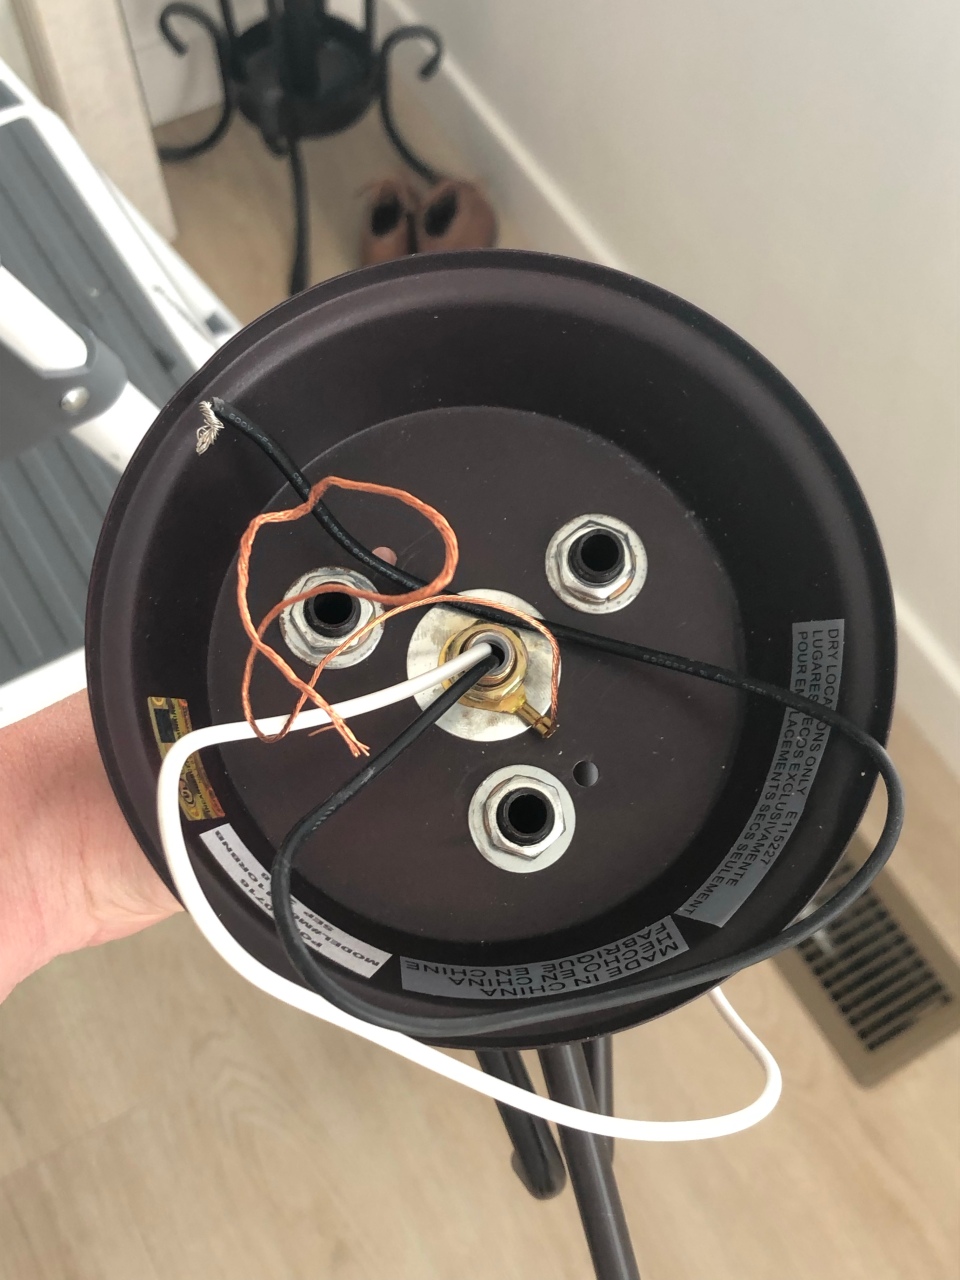
Once all the wires are connected, screw the caps at the tips of the wires to secure them into place. Most new semi-flush mounts have caps provided if you need them.
Step 6 –
Now it’s time to screw the light fixture onto your mounting plate. You’ll see some screws hanging down from my mounting plate. These went straight through my lighting fixture and was secured with caps.
Step 7 –
Finally you’re ready for your lightbulb! Attach any additional pieces to your light fixture as shown from the manufacturer’s instructions. And voila! Easy as pie! YOU DID IT!!
If you’ve followed my boob light removal tutorial to successfully switch out your boob lights. Make sure to follow me on social media and tag me in your posts! I want to see your beautiful new lights.
Thanks for following along!


